How to execute a P.V. test
The Technician or Application Admin user can execute a Performance Verification (P.V.)
When to perform a P.V. test
There are two ways to perform a P.V. test in DoseControl:
1️⃣ On Demand Users can perform a P.V. test on-demand at any time directly from the P.V. Module main screen.
2️⃣ Timer Prompt The App Admin can set the “frequency” timer in the P.V. Method configuration so that a P.V. test must occur at a specific frequency (e.g. every 24 hours). When the timer expires, the software will automatically prompt the user to execute a P.V. test. The user will not be able to proceed to measuring dosimeters until the P.V. is complete and the reader passes the test. See About P.V. test frequency
How to perform a Performance Verification (P.V.) test
REMINDER!
The software will walk you through the steps of a P.V. test. Carefully follow the on-screen prompts in DoseControl.
IMPORTANT
The sample compartment of the Evolution reader must be closed during the P.V. testing. Place the front panel into position on the reader and slide the lid closed.
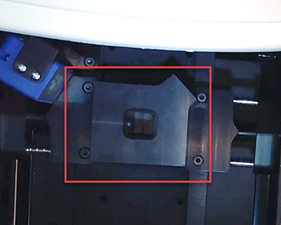
1 Ensure the correct holder is inserted in the Evolution. The ‘Windose’ dosimeter holder is used to hold reference standards.
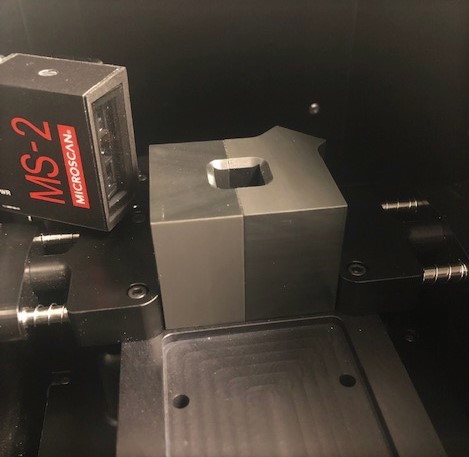
Place the ‘Windose’ holder for the P.V. test
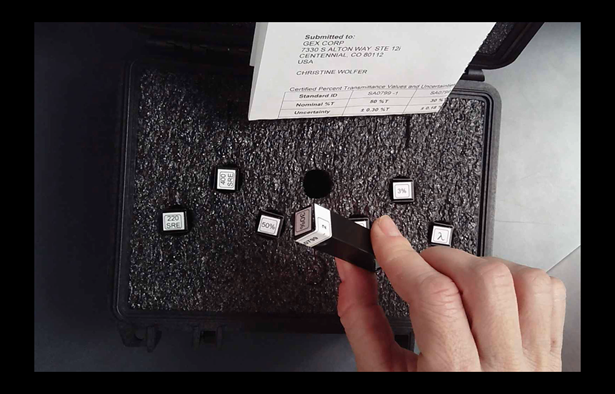
2 Ensure you have the correct reference Standards Kit for use with the P.V. Method. Ensure the Standards Kit is calibrated before its next calibration due date. Ensure the Standard is free from fingerprints, dust and is good condition.
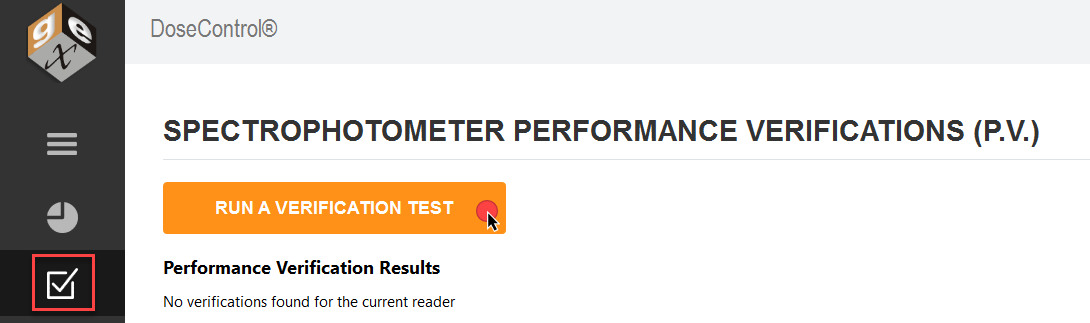
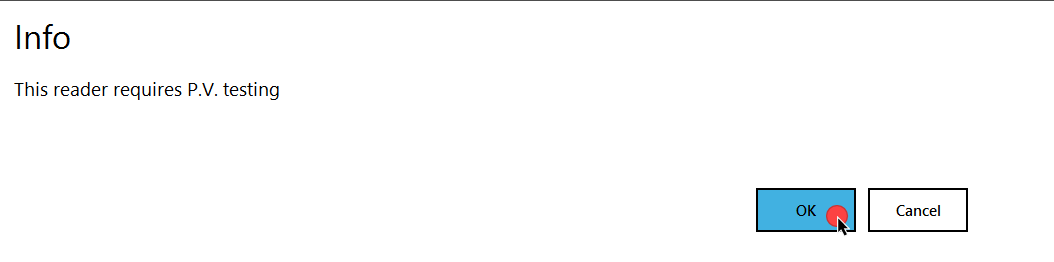
3 Click the P.V. icon to open the P.V. main screen (or click “OK” on the prompt pop-up message)

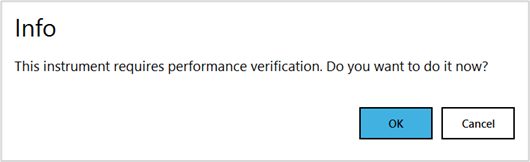
Example of prompt for user to perform a P.V.
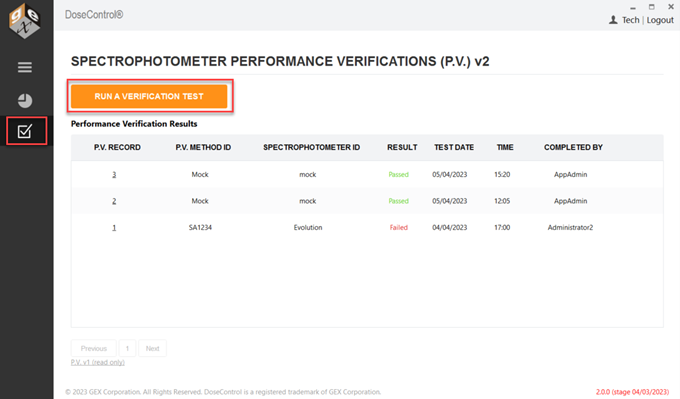
4 Click the “Run a Verification Test” button.
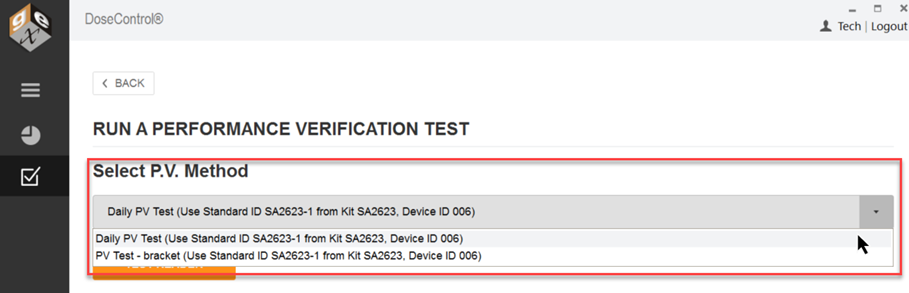
5 Choose a P.V. Method from the drop-down menu.
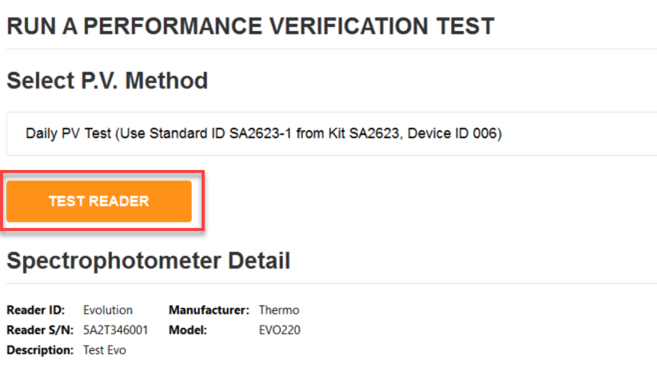
6 Click the “Test Reader” button to start the P.V. test.
7 Remove all samples from the dosimeter holder in the Evolution reader. Close the lid of the Evolution. Click “Ok”. DoseControl will zero the reader before the P.V. test. Click “Cancel” to escape the P.V. test.
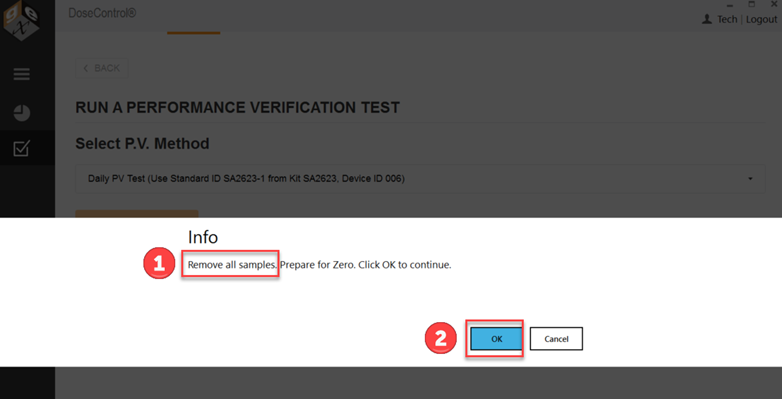
 Ensure the ‘Windose’ holder is installed and empty. |  Close the lid of the Evolution for zeroing. |
NOTICE! Once you click OK and the PV test has started, canceling the process it not an option.
8 The Evolution reader will proceed to zero. The reader will make an audible sound as its zeroing.
9 Insert the reference Standard ID into the dosimeter holder. Follow the on-screen prompt for the correct Standard ID information. Close the lid of the Evolution. Click “Ok”.
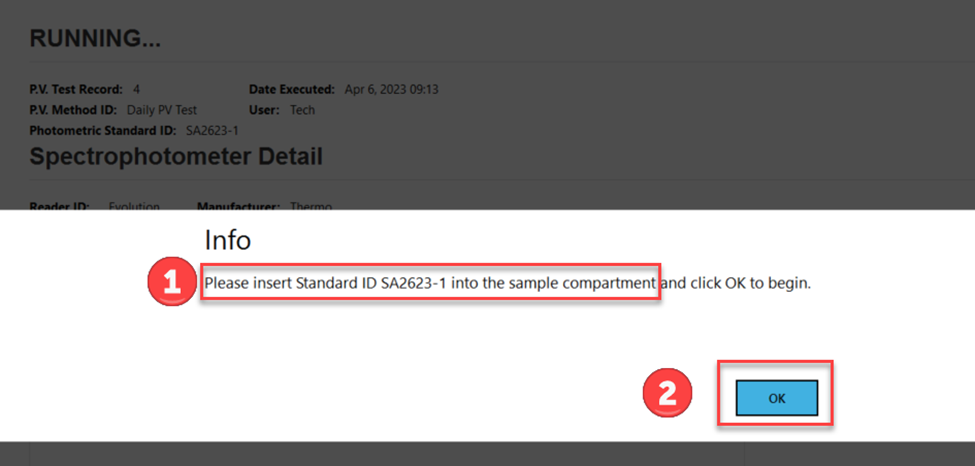
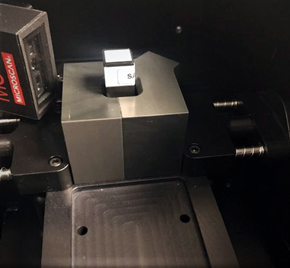 Insert the Standard into the holder. | Close the lid of the Evolution. |
10 DoseControl will measure the Standard ID. The reader will make an audible sound during the measurement activity. Photometric Accuracy Test will complete.
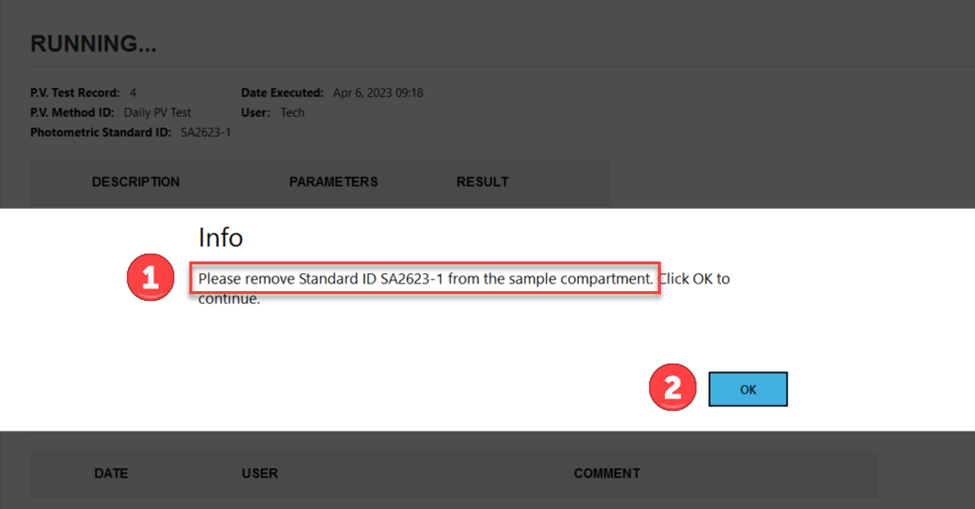
11 Remove the reference Standard ID from the holder. Close the lid of the Evolution. Click “Ok” to continue.
12 The full P.V. test will take approximately 2 minutes to complete. You will hear the reader make audible sounds during the wavelength accuracy tests.
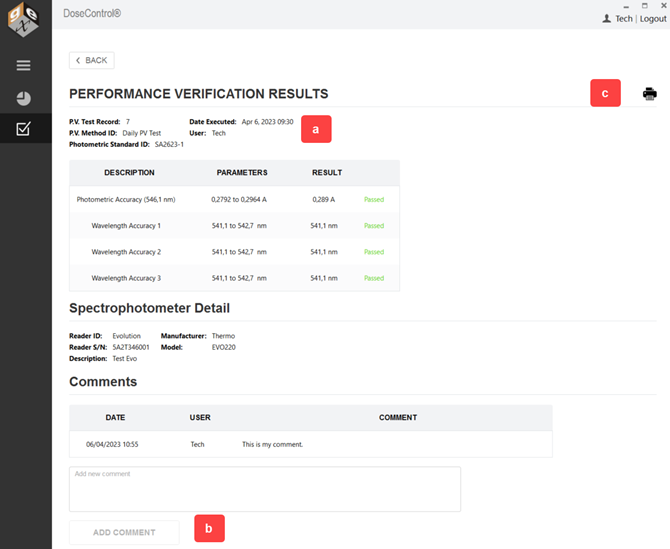
13 The Evo reader will make audible sounds as it proceeds through the test. When the test is complete, the software will display the results.
a. View P.V. test results
b. Add a comment to the test.
c. Click “Print” icon to print a P.V. Test Report (secure PDF)
14 Click the “Print” icon to view the PV report in PDF (see image below). A copy of the report is automatically saved to the report storage location (Connections & Storage – Storage).
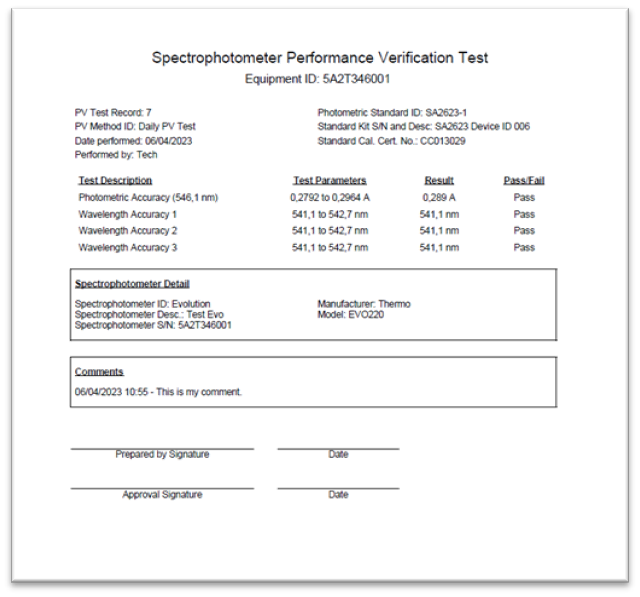
Example PDF document of P.V. test results.
IMPORTANT
If interrupted by power outage or other reason, the PV test will be incomplete, and all incomplete tests automatically are assigned a “FAILED” status. The instrument remains unavailable for use until the passing criteria is achieved.