Microsoft SQL Server Configuration and Troubleshooting Guide
Detailed guide to setup MS SQL Server for the DoseControl application database, or if you are having issues connecting the database to DoseControl
Use the following steps to troubleshoot MS SQL Server connection issues:
Step 1: Enable TCP/IP for the SQL Server
a. In the start menu on the SQL Database Server (not the client machine with DoseControl installed), launch SQL Server 2019 Configuration Manager:
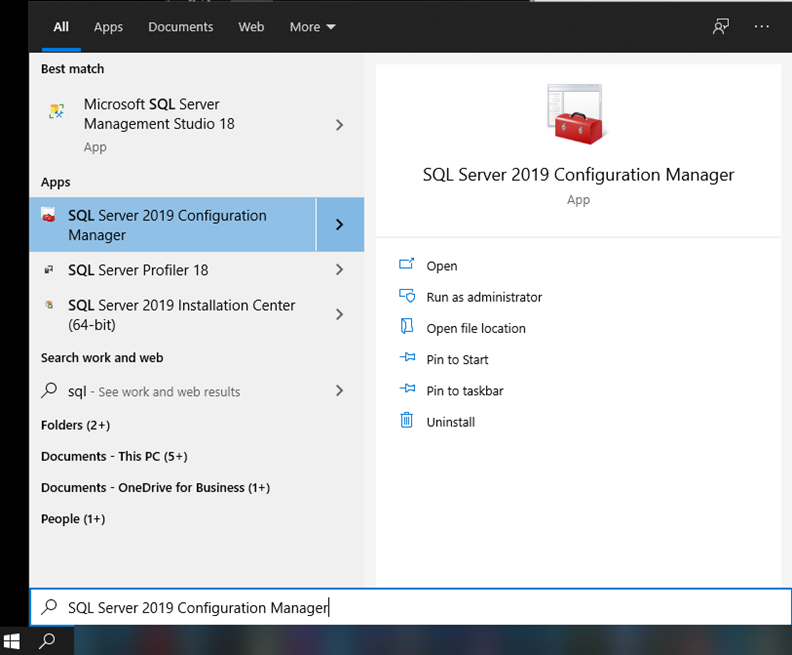
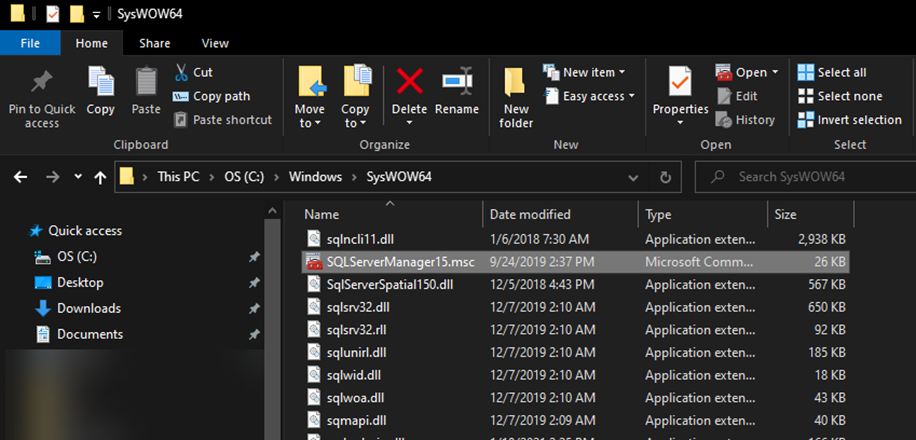
NOTE: if you don’t see this in the start menu/search results, you can find it on the server in the folder %windir%\SysWOW64
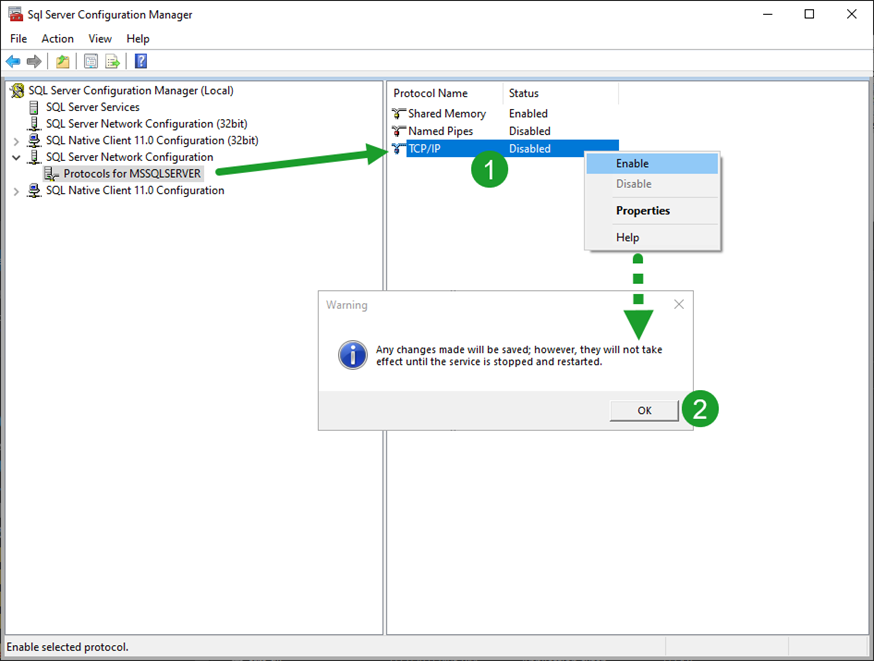
b. In the SQL Server Configuration Manager under SQL Server Network Configuration, click Protocols for <YOURSQLSERVERNAME>, and confirm that TCP/IP is Enabled. If it is not:
Right click TCP/IP and select Enable.
Click OK in the resulting warning message.
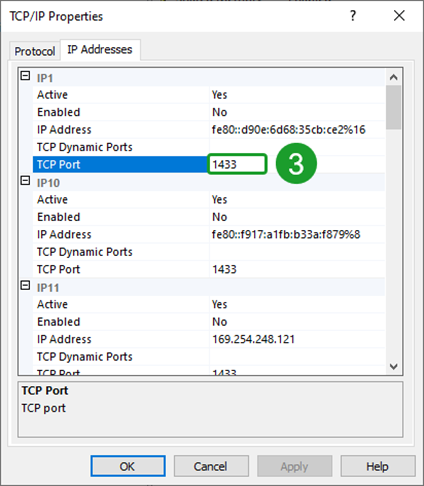
Right click TCP/IP and select Properties. On the IP Addresses tab, confirm that your TCP ports are all set to 1433. If for some reason you have these ports set to different values, you will need to contact your IT administrator and discuss the reasons for this. Non-standard SQL port values are outside the scope of this document.
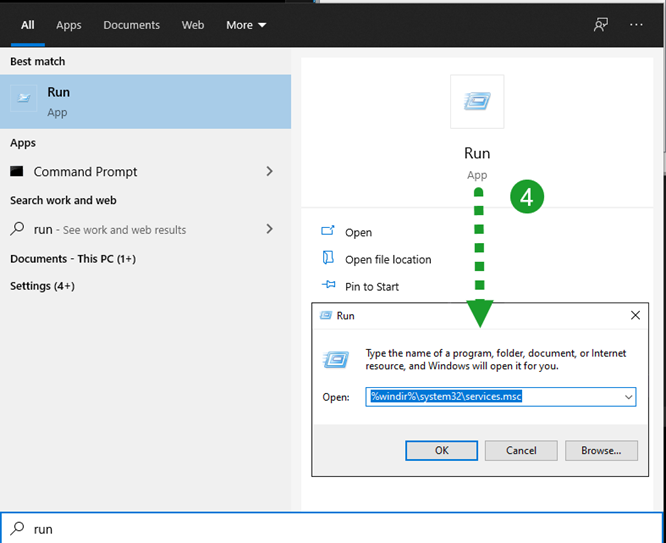
Open the Windows start menu, type “run”, launch the
Run box, and enter %windir%\system32\services.msc
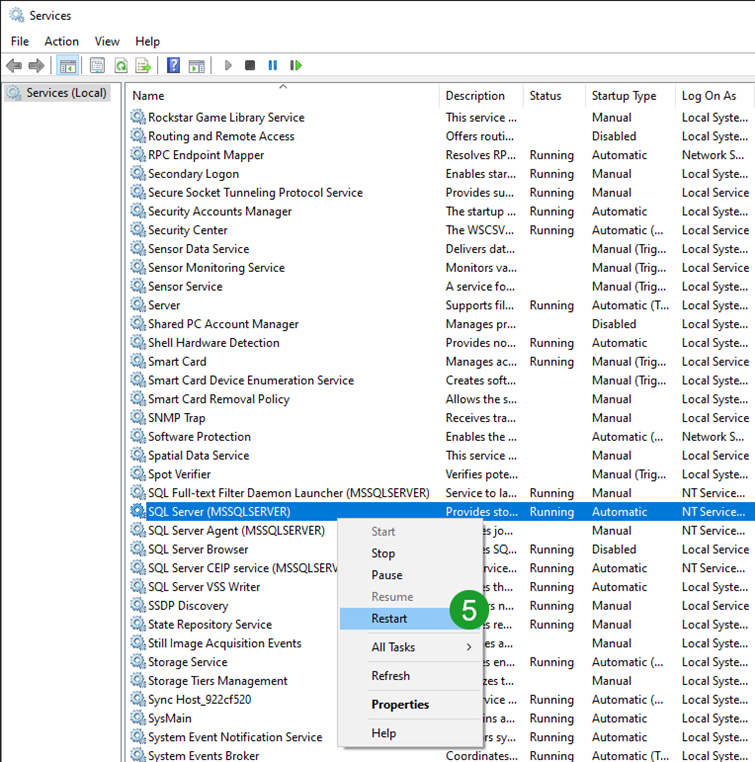
In the Services list, locate
SQL Server (<YOURSQLSERVERNAME>), right click and select Restart. Wait for the service to restart.
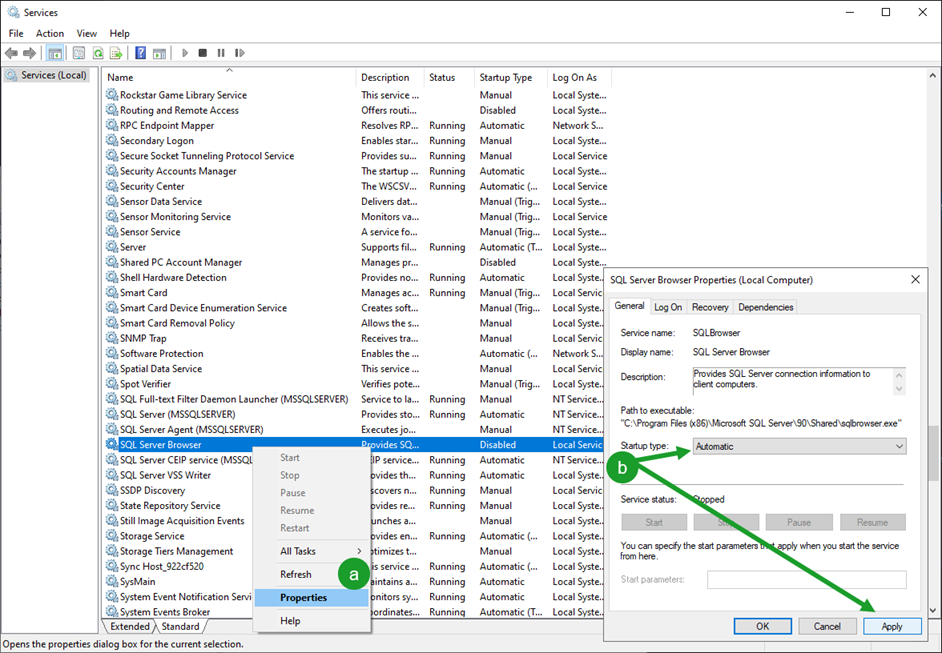
Step 2: Start the SQL Server Browser Service.
In the Services list, locate SQL Server Browser. This service’s Status should be Running, and its Startup Type should not be Disabled. To fix this:
a. Right click the SQL Server Browser service and select Properties.
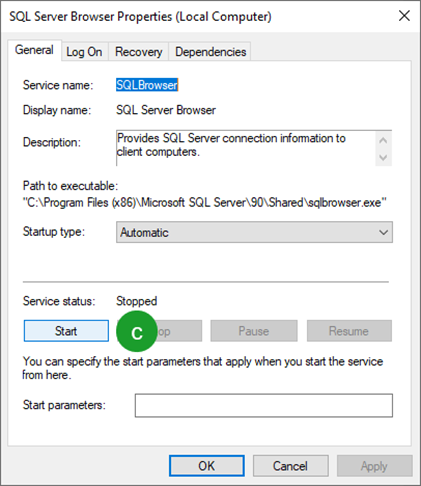
b. Change the Startup Type to Automatic and click Apply.
c. Click the Start button.
After you have completed/confirmed these steps (Steps 1 and 2 above), attempt to connect DoseControl to the database again. If you are still encountering the error, here are some IT admin level troubleshooting steps (Step 3):
Step 3: Test SQL Server port 1433
a. This test requires knowledge and installation of PowerShell. Open an administrator elevated PowerShell session and enter:
Test-NetConnection <YOURSQLSERVERNAME> -port 1433
b. You should get the following information:

Step 4: Confirm port 1433 is open in windows firewall and on your corporate network
a. For windows firewall, you can enter the following command in an administrator elevated command prompt:
netsh firewall set portopening protocol = TCP port = 1433 name = SQLPort mode = ENABLE scope = SUBNET profile = CURRENT
b. The result of that command should look like this:
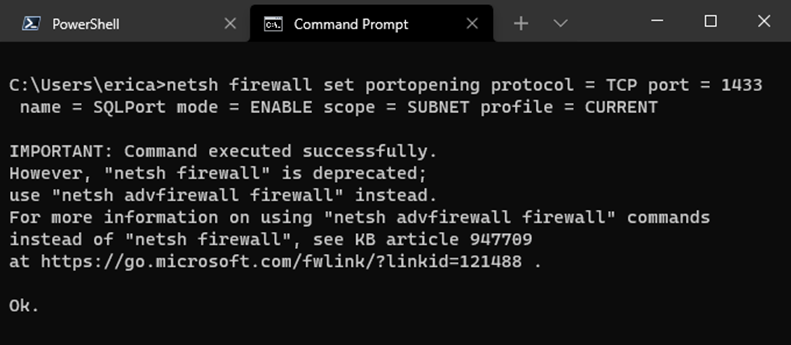
c. If your corporate firewall is blocking port 1433 for SQL Server, or if a port other than 1433 is being used for communication with SQL Server then the above screenshots will not be the same as what you see on your server. You will need to address this with your IT / networking administrative team.